

You’ve heard of salted caramels, right? Don’t you just love the sweet and salty combination? Wouldn’t you like to try salted maple caramels? Do you want your home to smell like a maple syrup factory, making you feel like you’re just a little elf at work? Are you craving something so buttery and rich with flavors of caramel, maple, and a hint of sea salt? Do you want to be the star among your friends when you show up at a dinner party with cute little caramel bundles of goodness? Have you ever wished that your culinary triumph would prompt an incredibly satisfied friend to high five you like in an 80’s movie freeze frame ending?
If you answered “no” to any of these questions, then I’m afraid we can’t be friends. Our journey ends here. No salty sweet goodness. No 80’s high five. You're really missing out. But it's better this way – just means more salted maple caramels for me! You probably wouldn't want to high five me anyway. My hands are still sticky from eating all of these tasty salted maple caramels...our hands would have stuck together.


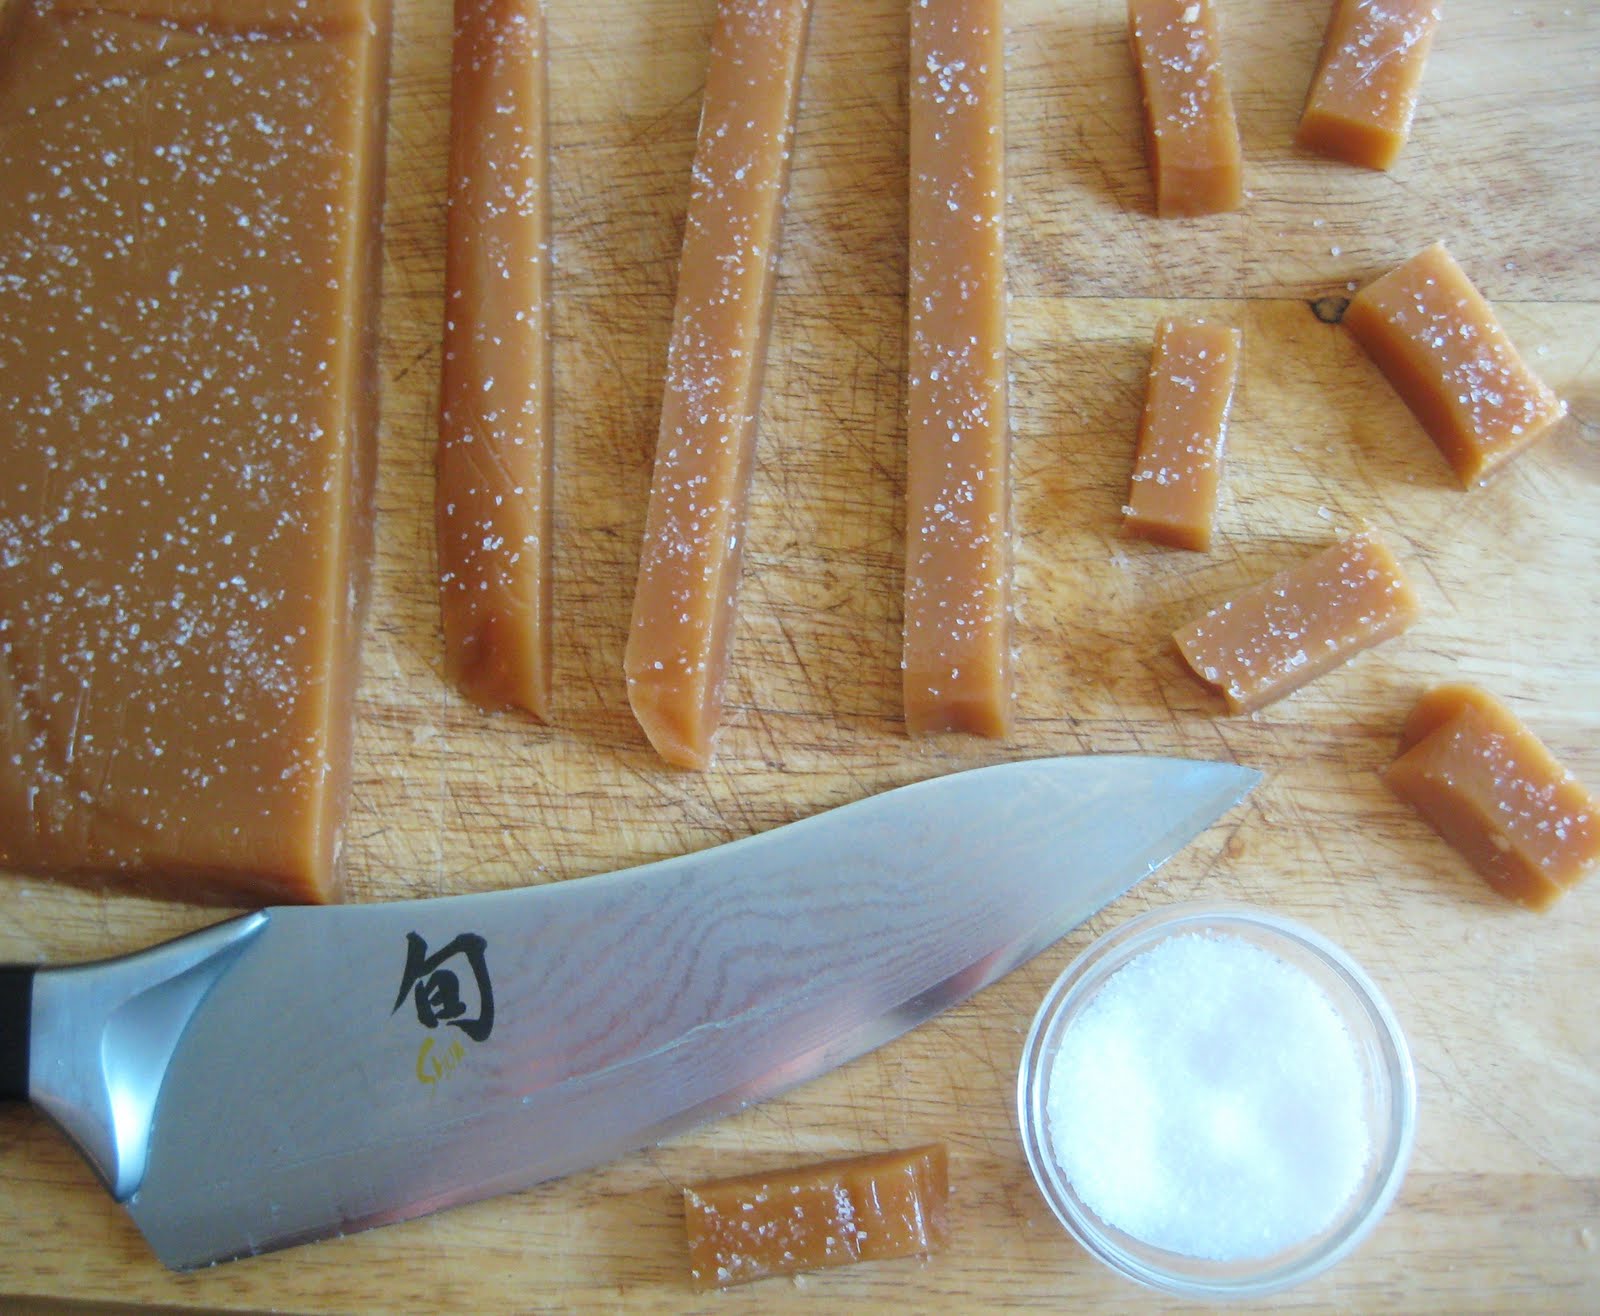
Salted Maple Caramels
Sorry, but I've removed this recipe temporarily.
In the meantime, you can visit my online store and purchase all types of delicious caramels!
Go ahead, you know you want some - Hippie Chick Candy Company.
Email me if you have any questions!
Chrissy (at) hippiechickcandy (dot) com
If you answered “no” to any of these questions, then I’m afraid we can’t be friends. Our journey ends here. No salty sweet goodness. No 80’s high five. You're really missing out. But it's better this way – just means more salted maple caramels for me! You probably wouldn't want to high five me anyway. My hands are still sticky from eating all of these tasty salted maple caramels...our hands would have stuck together.


Salted Maple Caramels
Sorry, but I've removed this recipe temporarily.
In the meantime, you can visit my online store and purchase all types of delicious caramels!
Go ahead, you know you want some - Hippie Chick Candy Company.
Email me if you have any questions!
Chrissy (at) hippiechickcandy (dot) com


